Pose Estimation


Introduction
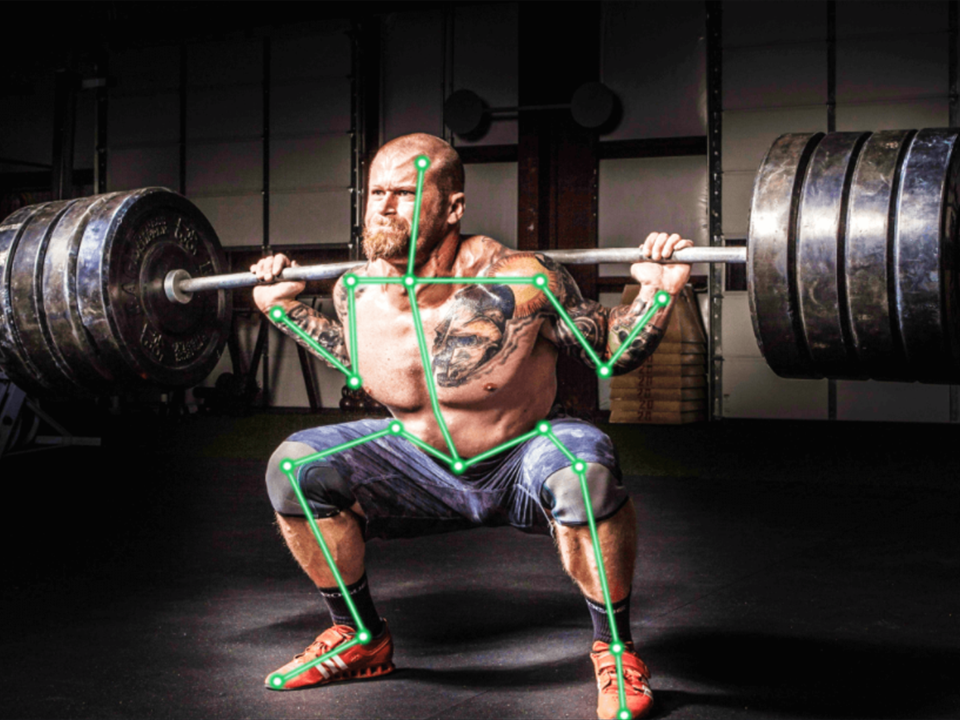
- Definition: Pose estimation is a computer vision task that infers the pose of a person or object in an image or video. This is typically done by identifying, locating, and tracking the number of key points on a given object or person. For objects, this could be corners or other significant features. And for humans, these key points represent major joints like an elbow or knee.
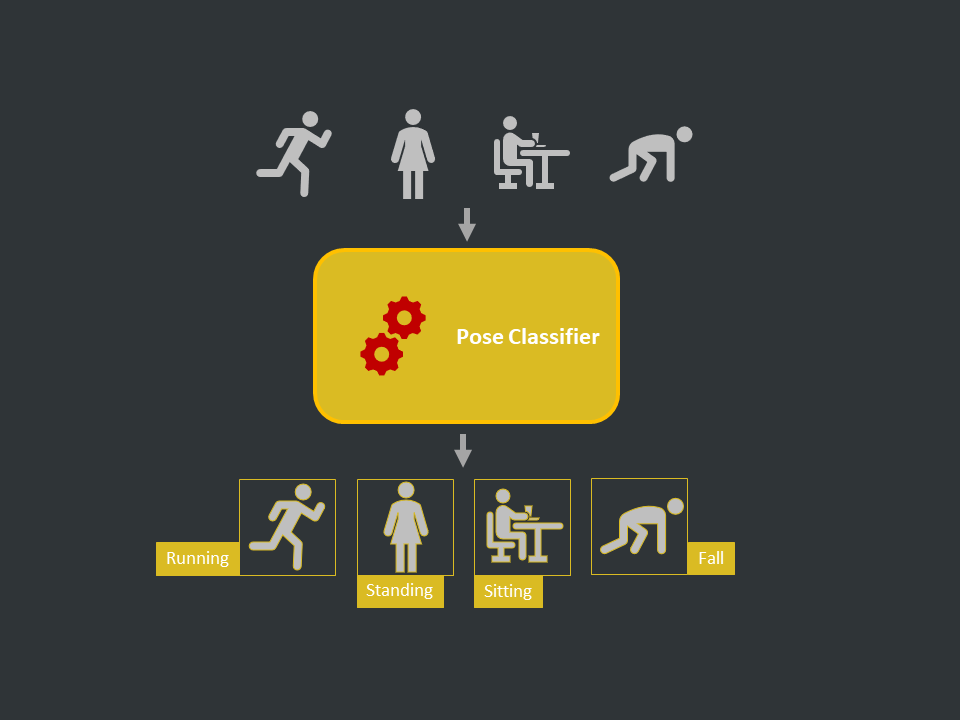
- Applications: Activity recognition, motion capture, fall detection, plank pose corrector, yoga pose identifier, body ration estimation
- Scope: 2D skeleton map, Human Poses, Single and Multi-pose, Real-time
- Tools: Tensorflow PoseNet API
Models
OpenPose
OpenPose: Realtime Multi-Person 2D Pose Estimation using Part Affinity Fields. arXiv, 2016.
A standard bottom-up model that supports real-time multi-person 2D pose estimation. The authors of the paper have shared two models – one is trained on the Multi-Person Dataset ( MPII ) and the other is trained on the COCO dataset. The COCO model produces 18 points, while the MPII model outputs 15 points.
PoseNet
PoseNet is a machine learning model that allows for Real-time Human Pose Estimation. PoseNet can be used to estimate either a single pose or multiple poses PoseNet v1 is trained on MobileNet backbone and v2 on ResNet backbone.
Process flow
Step 1: Collect Images
Capture via camera, scrap from the internet or use public datasets
Step 2: Create Labels
Use a pre-trained model like PoseNet, OpenPose to identify the key points. These key points are our labels for pose estimation based classification task. If the model is not compatible/available for the required key points (e.g. identify the cap and bottom of a bottle product to measure if manufacturing is correct), we have to first train a pose estimation model using transfer learning in that case (this is out of scope though, as we are only focusing on human poses and pre-trained models are already available for this use case)
Step 3: Data Preparation
Setup the database connection and fetch the data into the environment. Explore the data, validate it, and create a preprocessing strategy. Clean the data and make it ready for modeling
Step 4: Model Building
Create the model architecture in python and perform a sanity check. Start the training process and track the progress and experiments. Validate the final set of models and select/assemble the final model
Step 5: UAT Testing
Wrap the model inference engine in API for client testing
Step 6: Deployment
Deploy the model on cloud or edge as per the requirement
Step 7: Documentation
Prepare the documentation and transfer all assets to the client
Use Cases
OpenPose Experiments
Four types of experiments with pre-trained OpenPose model - Single and Multi-Person Pose Estimation with OpenCV, Multi-Person Pose Estimation with PyTorch and Pose Estimation on Videos. Check out this notion.
Pose Estimation Inference Experiments
Experimented with pre-trained pose estimation models. Check out this notion for experiments with the OpenPifPaf model, this one for the TorchVision Keypoint R-CNN model, and this notion for the Detectron2 model.
Pose Detection on the Edge
Train the pose detector using Teachable machine, employing the PoseNet model (multi-person real-time pose estimation) as the backbone and serve it to the web browser using ml5.js. This system will infer the end-users pose in real-time via a web browser. Check out this link and this notion.
Pose Detection on the Edge using OpenVINO
Optimize the pre-trained pose estimation model using the OpenVINO toolkit to make it ready to serve at the edge (e.g. small embedded devices) and create an OpenVINO inference engine for real-time inference. Check out this notion.